Building a Real-World E-Commerce App on AWS (Module 2): User Authentication with Amazon Cognito
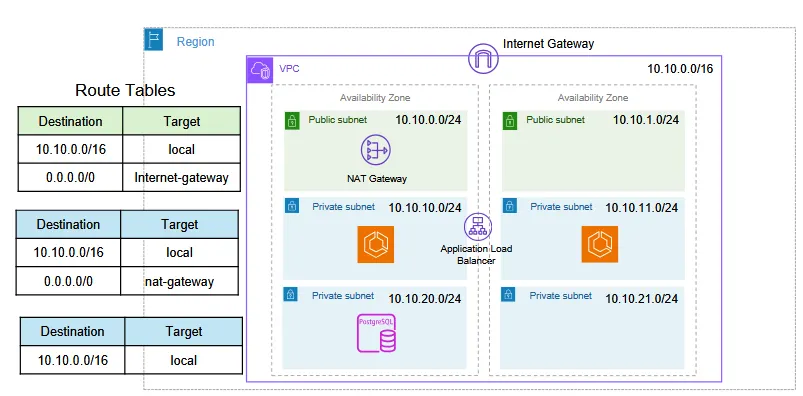
This is Module 2 of the Building a Real-World E-Commerce App on AWS series. If you haven’t completed the VPC setup, start with Module 1: Networking & VPC Setup
Now that our network foundation is in place, it’s time to handle identity.
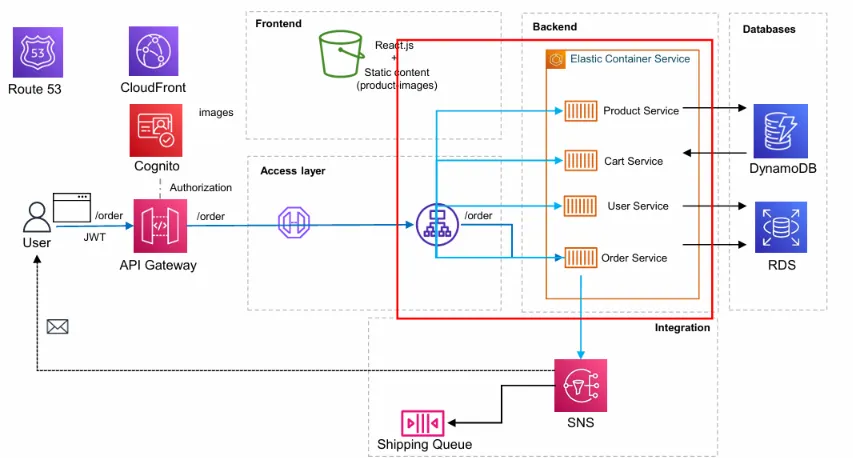
Building an auth system from scratch — handling salted password hashes, email verification tokens, and JWT rotation — is usually a headache and an easy place to introduce security vulnerabilities.
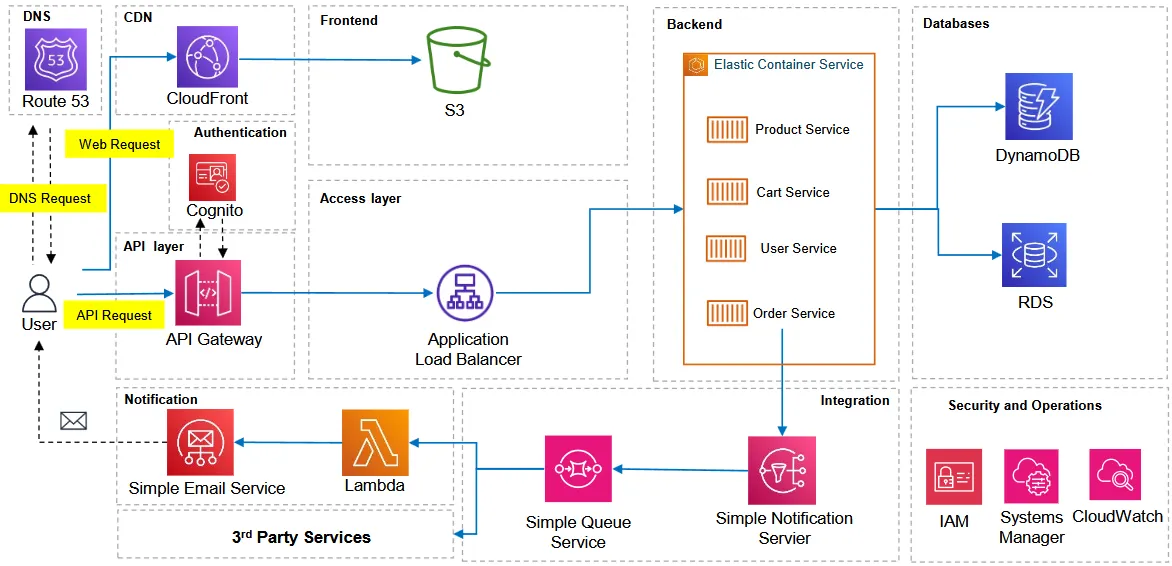
Instead, we’ll use AWS Cognito User Pools as our fully managed identity provider. It takes care of user sign-ups, password policies, email confirmations, and token issuance out of the box.
What We’re Setting Up
- A Cognito User Pool: The core directory that stores and manages user profiles.
- An App Client: The bridge that lets our frontend web application talk to the user pool securely without exposing sensitive backend secrets.
Step 1: Create the User Pool
First, let’s create the user directory. We’ll configure it so customers sign in with their email rather than an arbitrary username.
- Navigate to the AWS Cognito Console → User pools → Create user pool.
- Define your application: Select Single-page application (SPA). This pre-configures settings tailored for React/Vue client-side apps.
- Name your application: Enter
ecommerce-app. - Configure options:
- Sign-in identifiers: Select Email (standard e-commerce pattern — shoppers rarely want to remember a dedicated username).
- Self-registration: Enable this so visitors can create accounts on their own.
- Required attributes for sign-up: Select email and name.
5. Add a return URL: If you have a custom domain ready, enter [https://yourdomain.com](https://yourdomain.com). Otherwise, leave this blank for now—we will plug in our CloudFront URL once the frontend is deployed.
Get Ankit Kumar’s stories in your inbox
Join Medium for free to get updates from this writer.
6. Click Create user directory.

CLI equivalent ( Step 1):
# Create User Pool
USER_POOL_ID=$(aws cognito-idp create-user-pool \
  --pool-name ecommerce-app \
  --policies '{"PasswordPolicy":{"MinimumLength":8,"RequireUppercase":true,"RequireLowercase":true,"RequireNumbers":true,"RequireSymbols":false}}' \
  --auto-verified-attributes email \
  --username-attributes email \
  --schema '[{"Name":"email","Required":true,"Mutable":true},{"Name":"name","Required":true,"Mutable":true}]' \
  --query 'UserPool.Id' --output text)

echo "USER_POOL_ID=$USER_POOL_ID"
Step 2: Configure the App Client
An App Client provides the credentials our React app needs to call Cognito. Because browser-based apps cannot securely hide a secret key (anyone can inspect client-side code), this client operates without a client secret and relies on explicit auth flows.
- In your newly created User Pool, open the App integration tab and scroll to App clients.
- Click your app client name and select Edit.
- Under Authentication flows, verify or enable the following:
ALLOW_USER_SRP_AUTH: Secure Remote Password protocol. It authenticates users without ever sending plain-text passwords over the wire.ALLOW_USER_PASSWORD_AUTH: Fallback direct username/password flow, handy for custom UI handling or backend scripting.ALLOW_REFRESH_TOKEN_AUTH: Allows the frontend to request fresh access tokens silently when old ones expire, keeping users logged in.
4. Click Save changes.

CLI equivalent ( Step 2):
# Create App Client explicitly without a secret
CLIENT_ID=$(aws cognito-idp create-user-pool-client \
  --user-pool-id $USER_POOL_ID \
  --client-name ecommerce-app \
  --no-generate-secret \
  --explicit-auth-flows ALLOW_USER_PASSWORD_AUTH ALLOW_USER_SRP_AUTH ALLOW_REFRESH_TOKEN_AUTH \
  --query 'UserPoolClient.ClientId' --output text)

echo "CLIENT_ID=$CLIENT_ID"
📌 Save These Values
Grab these details from the console and stash them in a notepad — we would need to set this up in our front-end application:
- User Pool ID (e.g.,
ap-south-1_xxxxxxxxx) - App Client ID (e.g.,
1a2b3c4d5e6f7g8h9i0j1k2l3m) - Cognito Domain (Find this under User Pool → Branding → Domain)
What’s Next?
Our authentication engine is ready to issue and verify JWT tokens.
In the next part, we’ll build and deploy our React frontend application to S3 and distribute it globally via CloudFront.