I Built a Personal Google Photos for $100 – Here’s How

How a Saturday in Akihabara turned into the best tech decision I’ve made this year

I was paying for Google Photos. Then iCloud. Then Google Photos again when iCloud filled up. Then both.
At some point I did the math. Between the two of us – my partner and I – we were spending around ¥3,000 (18 USD) a month just to store our photos on someone else’s server. That’s ¥36,000 (220 USD) a year. For files we already own, on hardware we’ll never see, managed by companies that could change their pricing and policies whenever they feel like it.
I decided to fix that. What I didn’t expect was that the fix would cost less than half of our subscription cost per year – and that I’d build it in a single Saturday in Akihabara.
This is the story of that build, and the first in a series documenting everything I set up. By the end of this series you’ll have a complete blueprint for a home server that handles photos, file storage, network-wide ad blocking, and home automation – for around $100.
Let’s start at the beginning.
Why Not Just Buy a Synology?

The obvious answer to “I need a NAS” is a Synology. They’re well-built, the software is polished, and every home server tutorial on the internet recommends one. I looked at the DS223j – a 2-bay entry model – and it seemed a bit affordable at around ¥36,000 (220 USD), my yearly cloud storage subscription cost.
Then I added drives.
A single 2TB NAS-rated drives (you need NAS-specific drives for always-on use) came to another ¥15,000 (92 USD). Suddenly the “affordable” Synology was ¥51,000 (314 USD) before I’d stored a single photo.
And then I looked at the specs: ARM processor, 1GB of RAM that can’t be upgraded, and a proprietary software ecosystem that increasingly requires Synology-branded drives on newer models.
For a machine I wanted to run Immich – a self-hosted Google Photos alternative that uses machine learning for face detection and search – 1GB of RAM wasn’t going to cut it. Immich recommends at least 4GB.
I needed a different approach.
The Used PC Advantage
Here’s the thing about enterprise office computers: companies buy them in bulk, use them for 3–5 years, and sell them off cheap. The result is a massive used market full of machines with solid specs, low mileage, and surprisingly good build quality.
For NAS purposes, the ideal used office PC has:
- A T-series Intel CPU – the “T” suffix means it’s a low-power variant (35W vs 65W for standard chips), designed for always-on use. Running 24/7, this saves you roughly ¥3,000/year (18 USD) in electricity compared to a standard desktop chip.
- Small Form Factor (SFF) or Mini (DM) chassis – compact, quiet, fits anywhere
- At least one free drive bay – somewhere to put your actual storage drive
- 8th generation Intel or newer – required for proper Windows 11 support and modern security features
- Warranty from a reputable seller – critical for something running 24/7
Japan has an excellent used PC market. Shops like Qualit (online), じゃんぱら (Janpara), and ソフマップ (Sofmap) grade their machines carefully and back them with real warranties. This isn’t eBay roulette.
The Hunt: A Saturday in Akihabara

I spent a Saturday morning working through the options online before heading out:
HP EliteDesk 800 G4 DM at Qualit – ¥20,900, i5–8500T (8th gen, T-series, perfect), 8GB RAM, 256GB SSD. Strong candidate.
Dell OptiPlex 7060 SFF – better hardware but only 10-day warranty as a 訳あり (as-is) unit. Hard pass for a machine I’m leaving on permanently.
Lenovo ThinkCentre M900/M910q from an Amazon marketplace seller – claimed Windows 11 compatibility but used a 6th gen CPU with TPM 1.2, which technically doesn’t meet Microsoft’s requirements. Another pass.
I had the HP EliteDesk almost locked in when I decided to walk through Akihabara first.
Pasokon Kobo is one of those Akihabara shops that doesn’t look like much from the outside. It’s the kind of place where you find genuinely good deals precisely because it’s not trying to look impressive. One reviewer described it as “one of the cheapest in Akiba for HDD/SSD” and they weren’t wrong.
That’s where I found it.
The Find: HP ProDesk 400 G5 Mini
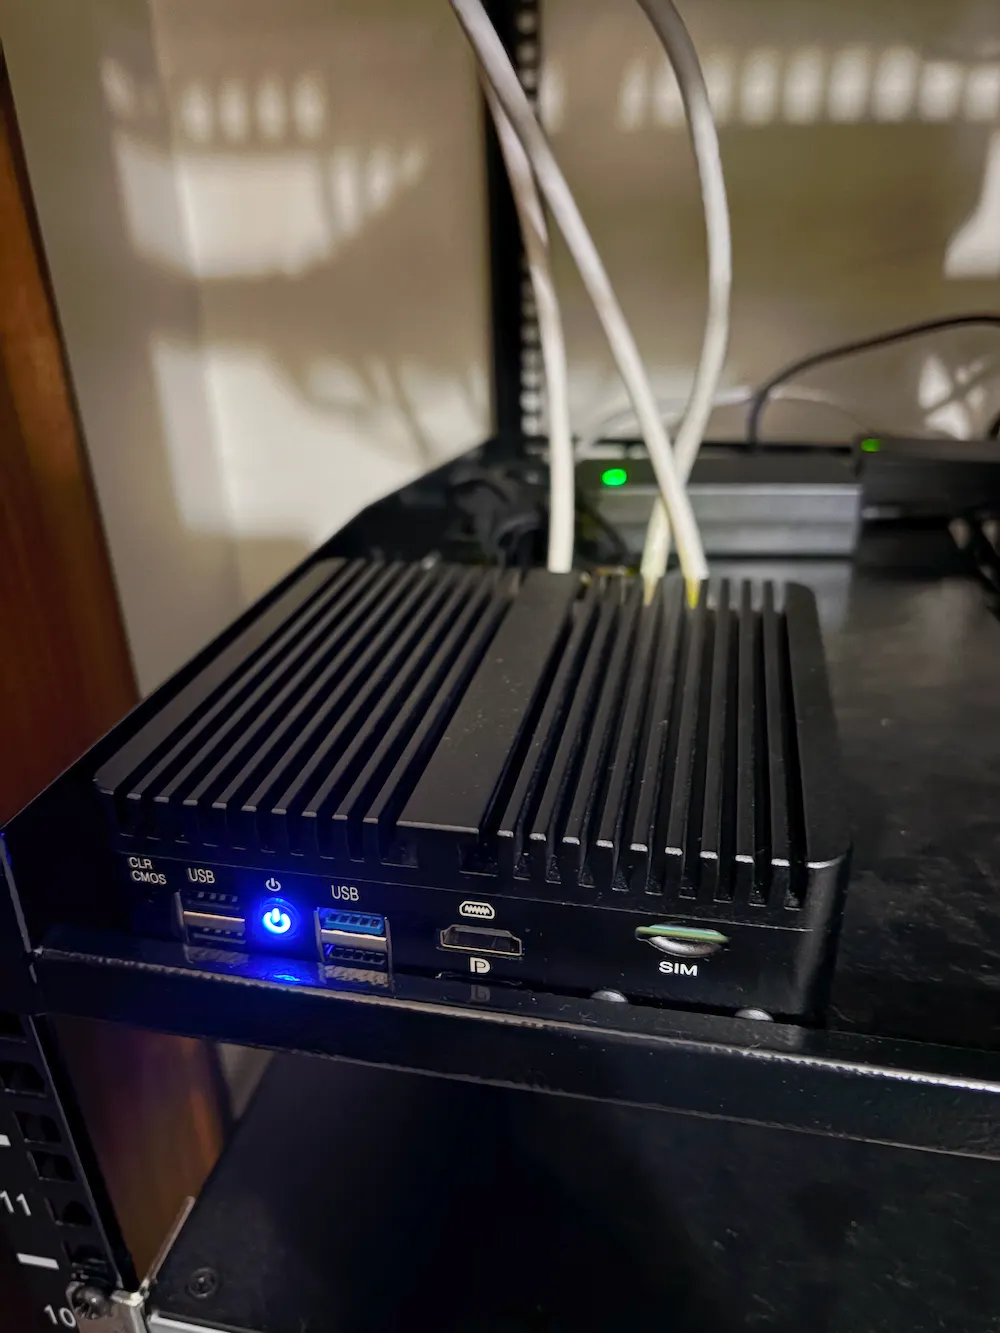
HP ProDesk 400 G5 Mini. ¥19,980 (123 USD).
Let me read you the specs from the label:
- CPU: Core i5–9500T – 9th generation, T-series low power. One generation newer than the HP I’d been considering online.
- RAM: 8GB DDR4
- Storage: 256GB SSD
- OS: Windows 11 Pro
- Warranty: 3 months
There was one catch noted on the label: DP端子接触不良 – the DisplayPort connector had a contact fault. It might be unstable.
Get Harry’s stories in your inbox
Join Medium for free to get updates from this writer.
For a NAS that runs headless (no monitor attached), a slightly dodgy DisplayPort is completely irrelevant. This is exactly the kind of fault that gets a machine discounted without affecting its usefulness as a server.
I asked if there was any wiggle room on the price.
Final price: ¥17,987.
That’s roughly $110 USD at the time of writing. For a 9th gen i5 with a T-series chip, solid build quality, and three months of warranty coverage.
What Makes This Machine Right for a NAS

A few things make the ProDesk 400 G5 Mini particularly well-suited for this purpose:
The T-series CPU matters more than you’d think. The i5–9500T runs at 35W TDP versus 65W for a standard i5–9500. Running 24/7 for a year, that’s the difference between roughly ¥3,600 (22 USD) and ¥7,200 (44 USD) in electricity. Over three years, you’ve saved enough to buy another drive. It also runs cooler and quieter – important when the machine sits in your living space.
The form factor is genuinely small. The G5 Mini is about the size of a hardback book. It sits next to your router and you forget it’s there.
There’s a free 2.5" SATA bay. The 256GB SSD handles the operating system. The empty bay is where your actual NAS storage drive goes – I’m planning to add a 2TB drive once the warranty period ends (opening the case would void it).
It already has Windows 11. I’m replacing this with OpenMediaVault (Linux-based NAS software), but having a working Windows install first is useful for initial setup and burn-in testing.
One DisplayPort concern became useful. Because the DP port was listed as potentially unstable, I had low expectations – and it worked fine for the 20 minutes I needed a monitor during setup. After that, headless forever.
A Word on Ports – There’s No HDMI

One thing that surprised me in-store: the ProDesk 400 G5 Mini has no HDMI port. The display outputs are DisplayPort and VGA only.
For a regular PC this would matter. For a NAS that runs headless 24/7 with no monitor attached, it’s completely irrelevant – and it’s worth knowing upfront so you bring the right cable for the 20 minutes of initial setup you’ll actually need a display for.
A DP-to-HDMI cable (around ¥800 (5 USD) at Dospara, two minutes walk away) solves it permanently if needed.
What I Checked Before Buying
A few things worth verifying when shopping for used NAS hardware – lessons from comparing a dozen listings:
T-series vs standard CPU: Check for the “T” at the end of the CPU model. i5–9500T (yes!) vs i5–9500 (no!) for always-on use.
Warranty length: 訳あり (as-is/wakeari) listings typically carry only 10-day warranties. For a NAS, this is too short. Look for at least 3 months from the seller, ideally 12.
Drive bay availability: Confirm there’s a free 2.5" or 3.5" SATA bay. The spec sheet should list storage expansion options – or ask the shop staff. Some mini PCs have only an M.2 slot with no room for a second drive. I just asked Claude to check the G5 Mini’s spec sheet online.
Generation: 8th gen Intel (2018) or newer ensures TPM 2.0 support and proper Windows 11 compatibility. Older than that and you’re in unsupported territory.
SO-DIMM vs full DIMM RAM: Mini PCs use laptop-style SO-DIMM RAM, which is significantly more expensive to upgrade than full DIMM sticks used in SFF desktops. If you think you’ll want more RAM later, an SFF (Small Form Factor) machine might be the better choice.
SMART data on used HDDs: If you’re buying a used hard drive alongside the PC, ask to see the SMART data. Check power-on hours and reallocated sector count. Be aware that SMART data can be reset by dishonest sellers – also check the physical drive label for the manufacture date as a sanity check. Pasokon Kobo did not have this support and I had to verify this info at home.
The Total Cost (So Far)
HP ProDesk 400 G5 Mini — ¥17,987 (110 USD)
DisplayPort cable (for initial setup) — ¥ 800 (5 USD)
USB keyboard/mouse — ¥0 (already owned)
Total ¥18,787 (~ 115 USD)
Storage drive and any additional accessories come later. The machine itself – the hardest part to get right – cost half of our cloud storage subscriptions per year.
What Comes Next

Getting the hardware was the easy part. The next challenge was turning a Windows office PC into a proper NAS – installing OpenMediaVault, surviving a Secure Boot fight, discovering my gaming keyboard wouldn’t power on through the USB ports, and finding out that my apartment’s building-managed internet created a whole extra networking problem I hadn’t anticipated.
Those stories are in Part 2!
This is Part 1 of a series on building a self-hosted home server in Japan. Part 2 covers installing OpenMediaVault and the surprisingly entertaining series of problems that followed.
All prices in yen at time of purchase. Dollar conversion approximate at time of writing.
Tags: NAS, Self-Hosted, Home Server, Akihabara, Japan, Linux, OpenMediaVault, DIY, Photography, Privacy