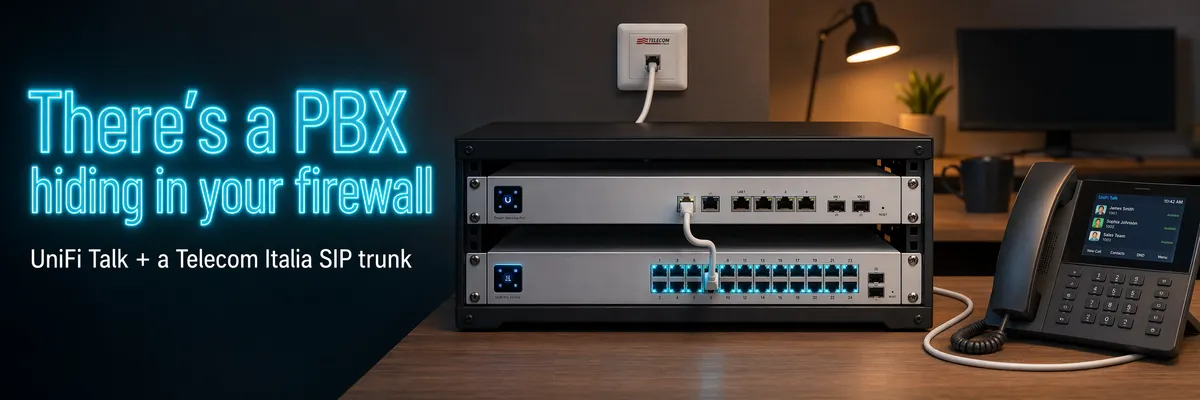
Unlock UniFi Talk and Use Any SIP Phone — No Ubiquiti Hardware Required

How to activate the phone system already sitting inside your Ubiquiti gateway and register the Yealink, Snom or Grandstream phones you already own.

There is a full phone system inside your Ubiquiti gateway. It is called UniFi Talk, it runs on FreeSWITCH, and it is already installed on your Dream Machine. The catch is the setup wizard: it refuses to move forward until you show it at least one Ubiquiti phone on the network. If you already have a Yealink or a Grandstream sitting in a drawer, that phone is an expense whose only purpose is getting past a screen. And the irony is complete — once Talk is up, it works perfectly well with third-party SIP phones.
This article shows you how to get around that gate by changing a single field in Talk’s Postgres database: a handful of commands over SSH, the wizard completes itself, and from there on you only ever touch standard SIP hardware and Talk’s web UI.
❗ A note on how this was written: this article is based on my personal, hands-on experience. I use AI as an assistant for drafting, editing and translating the text — it is not automatically generated content: every fact, step and opinion comes from my own work and is reviewed by me.
⚠️ All values shown are examples: hostnames, IP addresses and credentials appearing in this article have been changed or masked from the real ones.
🛠️ This is an unofficial procedure: what follows is not supported by Ubiquiti and writes directly into the database of a UniFi application. It works, but you do it at your own risk — read the section on the caveats before running any of the commands.
🧩 The gate: buy hardware to activate software you already have
UniFi Talk is not a separate purchase. It is a UniFi application like Network or Protect: you install it from the console with one click, and the VoIP engine — FreeSWITCH — starts right there, on the same box that does your routing and firewalling. No VM, no extra server.
The first-run wizard, though, has one mandatory step: adopt at least one Ubiquiti phone. Until the console sees a Ubiquiti phone on the network, the Next button stays greyed out and the phone system never comes up. It is an understandable commercial decision, but it produces an absurd situation: to use software already present on your hardware, you have to buy more hardware you may never use — because once past the wizard, Talk talks happily to ordinary SIP phones from the likes of Yealink, Grandstream or Snom.
The interesting part is that this gate does not live in the firmware, nor in some cloud-side check. It is a flag in Talk’s local configuration, stored in a Postgres database. Writing that flag by hand is all it takes.
🧰 Prerequisites
- A UniFi console that supports Talk — Dream Machine, Dream Machine Pro, Dream Router and family. I worked on a UDM-Pro running UniFi OS 5.1.19 and UniFi Talk 5.2.7: those are the versions this procedure is verified against.
- The UniFi Talk application already installed from the console. You do not need to have activated it — you just need it to be there, so that the database exists.
- SSH access to the console enabled, with the password set: UniFi OS → Console Settings → SSH.
- One or more third-party SIP phones to connect afterwards (Yealink and Grandstream are the ones I tested myself).
- Some comfort with the command line: you will be using
psql, but the unlock itself is three commands, and only one of them actually changes anything. Everything else is checks. - ⚠️ A console backup, taken before you start. UniFi OS → Console Settings → Backups: it takes thirty seconds, and it is the difference between an experiment and a gamble. You are about to hand-write into the database of a running application — do not skip it.
SSH into the console as root:
ssh root@192.168.x.xThe first check is trivial: make sure psql is within reach.
command -v psqlIf it answers with a path, you are already in the right shell and can carry on — that was the case on my UDM-Pro running UniFi OS 5.1.19. If it finds nothing, you are on a UniFi OS version where the applications run in a separate container, and you need to step inside first:
unifi-os shellAt this point Talk’s database is reachable. It is called unifi-talk, and its configuration lives in a config table, inside a JSONB column named data. Before touching anything, look at what is in there:
psql -U postgres -d unifi-talk -c "SELECT jsonb_pretty(data) FROM config;"You will get a JSON object holding Talk’s settings. The field that matters is setup_complete: if the wizard was never completed, it is either false or simply absent.
The clean way to go about this is to stop the service before writing, because Talk is running and keeps its own configuration in memory — leave it up and it may rewrite the record, undoing your change:
systemctl stop unifi-talk psql -U postgres -d unifi-talk -c \ "UPDATE config SET data = jsonb_set(data, '{setup_complete}', 'true', true);" systemctl start unifi-talkThe only line that really matters is the middle one. jsonb_set takes the data object, points at the setup_complete key and writes true into it. That final true is the create_missing flag: it tells Postgres to create the key if it is not already there, which is exactly why the command works on an installation that was never activated. If it all went well, Postgres answers:
UPDATE 1✅ The check: the wizard stops asking
Go back to the console, open UniFi Talk and reload the page. The wizard that used to stop at the adoption screen now skips it entirely: you land straight in the phone system’s interface, with Devices, Users and Settings all reachable. The flag did exactly its job — Talk believes the initial setup already happened, and stops looking for Ubiquiti hardware.
Get Emanuele Zambrano’s stories in your inbox
Join Medium for free to get updates from this writer.
If you still see the wizard, it is almost always because the service rewrote the record: run the sequence again with systemctl stop in front, and use the SELECT to confirm that setup_complete really did stay true.

☎️ From here on: standard SIP phones
With the phone system unlocked, the hostile part is over. Recent versions of Talk expose a Third-Party Device entry natively on the devices page: you create the extension, Talk hands you the SIP credentials (username, password, registration server) and you copy them into the phone’s web interface. That is the route I took, and the one I would recommend: no console, no commands.

The link is not exactly prominent: it sits at the bottom of the devices page, below “Clear Filters”, and it is easy to miss if you go looking for it among the buttons at the top.
Once the device is created, open it: its panel gathers precisely the four values you need to type into the phone — SIP Server Host, SIP Server Port, SIP Username and SIP Password — each with an icon to copy it to the clipboard. The password sits behind dots; the eye icon reveals it.

From there it is plain SIP: paste those four values into the phone’s web interface and within seconds the registration turns green. And if you then want to connect the phone system to the outside world with a trunk to your carrier — with all the surprises that entails — I wrote about that separately in There’s a phone system hiding in your Ubiquiti firewall, where I register a Telecom Italia line and work through the three obstacles Talk’s UI never even hints at.
⚠️ What to know before you do this
A few honest warnings, because an UPDATE on a commercial product's database is never entirely free:
- It is not supported. Nowhere will you find Ubiquiti blessing this procedure. Open a support ticket after applying it and expect limited sympathy.
- Updates can put the flag back. A Talk update that regenerates or migrates the configuration may drop you back at the wizard. Not a disaster: you run the same command again.
- The database structure can change. The
setup_completefield in theconfigtable is what I found on Talk 5.2.7; a future release could rename it or move it elsewhere. If that firstSELECTreturns something other than what you expect, stop and read the JSON before you write to it.
📋 Recap
- UniFi Talk is already inside your Ubiquiti console: the only obstacle to activating it is a wizard demanding an adopted Ubiquiti phone.
- That constraint is a flag in a local Postgres database: the
configtable of theunifi-talkdatabase, JSON fieldsetup_complete. - You unlock it by stopping the service, running an
UPDATEwithjsonb_setand starting it again - three commands, plus the initialSELECTto see what is actually in the database before writing to it. - After the unlock, third-party SIP phones (I connected Yealink and Grandstream) register through the Third-Party Device entry, with no further trips to the console.
- It is an unofficial procedure: back up first, and expect to redo it after some updates.
🔗 Resources
- Getting Started with UniFi Talk — Ubiquiti’s official activation guide (the one that assumes the phone).
- Adding a Third-Party SIP Provider to UniFi Talk — the official documentation on using external SIP providers.
- Unlock UniFi Talk without Touch device — the gist the command circulates from, with a history of the methods used on earlier versions.
- UniFi Talk ohne UniFi Phone Hardware einrichten — the German forum wiki entry: it is the source that recommends stopping the service before writing to the database, the precaution I adopted here.
- FreeSWITCH — official documentation — the VoIP engine running underneath UniFi Talk.
- PostgreSQL — JSON and JSONB functions — the reference for
jsonb_setand the create_missing flag.
Thanks for reading this far! If you found this article useful or interesting, remember to clap 👏 (if you are reading it on medium.com) — it helps others find it. And if you have tried this procedure on a different console or a different version than mine, leave a comment: this is the kind of information that ages quickly, and every confirmation helps whoever comes next.

Emanuele Zambrano — Project manager and systems specialist with a developer’s soul: I work on platform technologies, from .NET code to Microsoft and network infrastructure. In my spare time I tinker with networking, VoIP and automation — and write about what I learn in the field. You can find me on GitHub and LinkedIn.
Originally published at https://blog.zambrano.email on July 27, 2026.