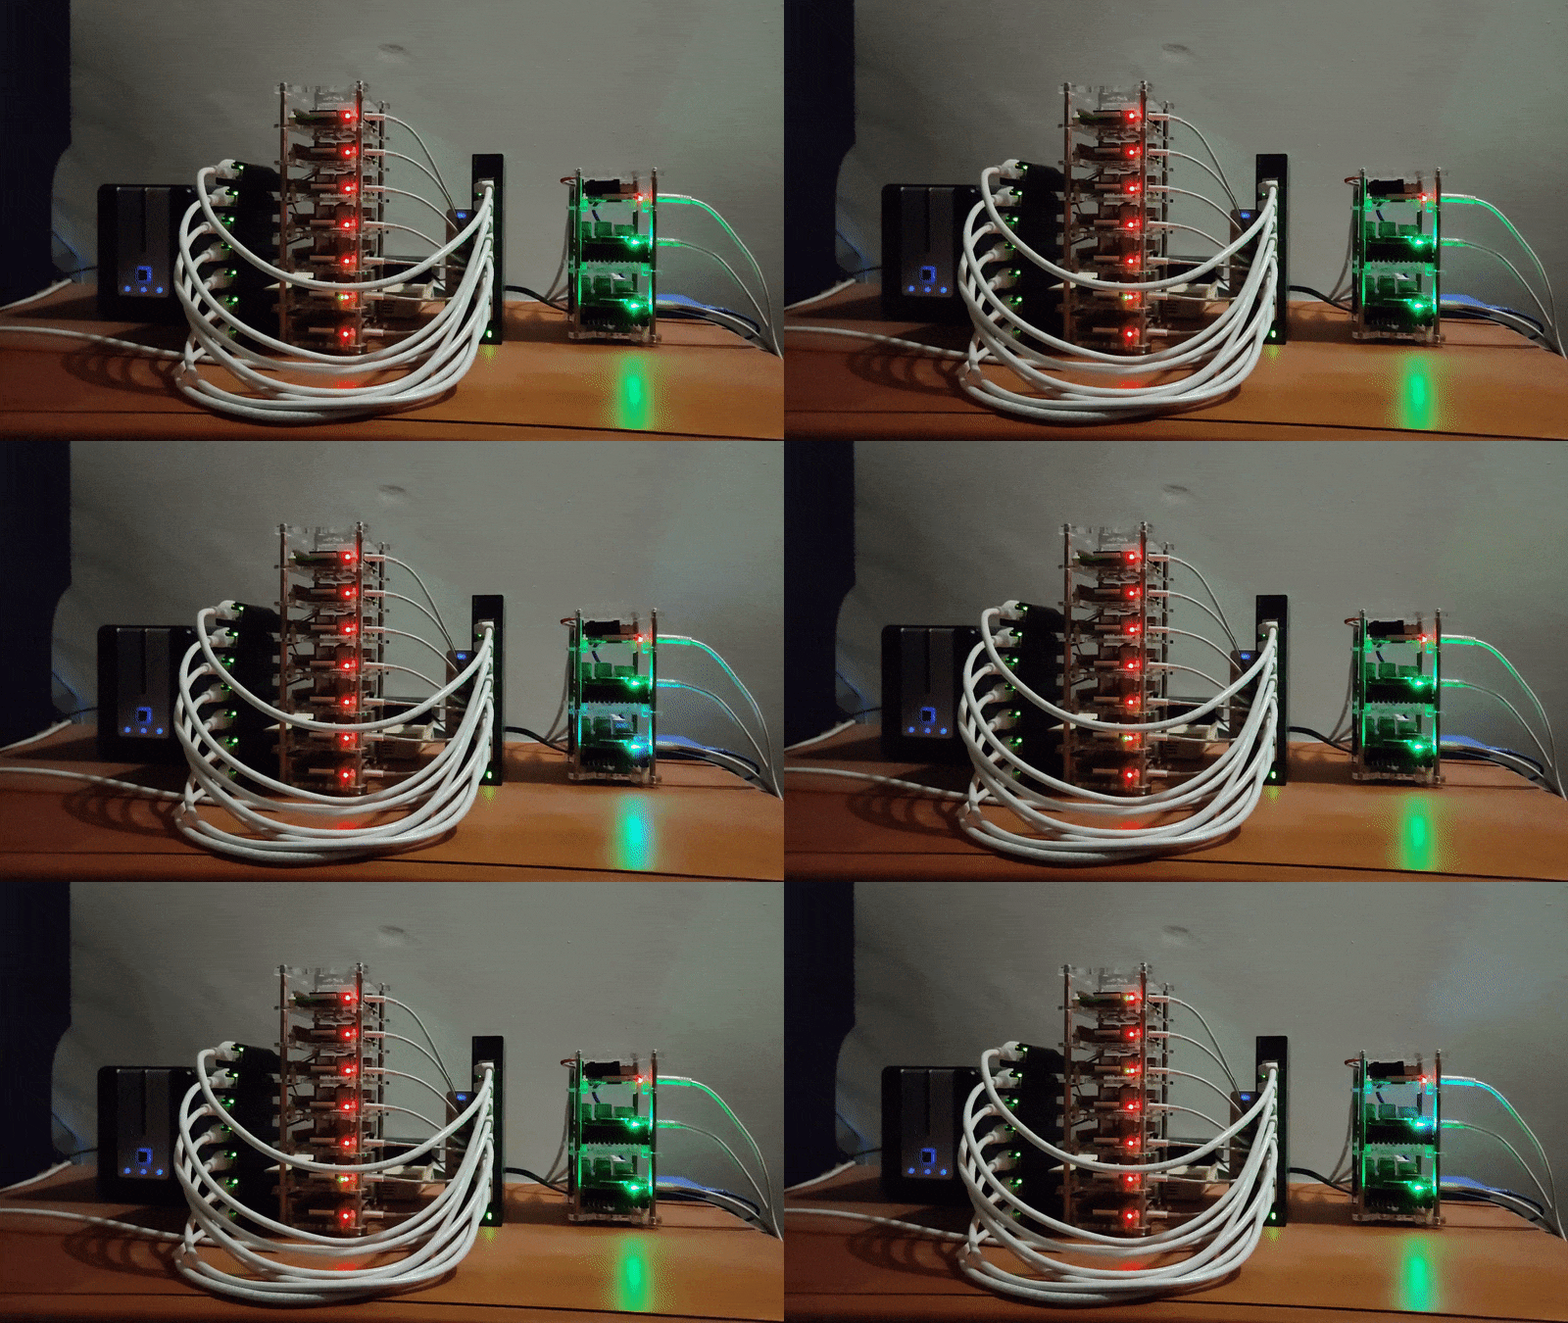
Building My Own Ultimate Home Server & CI/CD Hub: Raspberry Pi, 4TB NAS, CasaOS, and Cloudflare Tunnels
If you’ve ever wanted total control over your data, a personal cloud storage system, and a self-hosted CI/CD deployment pipeline without paying monthly cloud bills, building a home server is the ultimate weekend project.
I recently transformed a Raspberry Pi into a powerhouse home server. It acts as a local NAS for my media and backups, a self-hosted CI/CD build server running three distinct containerized apps via GitHub Actions, and a secure remote workstation accessible from anywhere in the world — all without opening router ports, thanks to Cloudflare Tunnels.
Here is the complete architectural walkthrough of how I built it.
1. The Hardware & Foundation
The Setup
- Board: Raspberry Pi (running Raspberry Pi OS)
- Storage: 4TB External Hard Disk Drive (formatted to ext4 for Linux native performance and reliability)
- Domain & DNS: Custom domain registered via BigRock, managed through Cloudflare for DNS and security.
Before writing any code, I mounted the 4TB external drive and configured it to mount automatically on boot via /etc/fstab, ensuring my storage remains persistent even after power outages or reboots.
2. Local NAS & File Sharing via SMB
To use the 4TB drive as a network-attached storage (NAS) device for my local network, I installed and configured Samba (SMB).
Installed Samba:
sudo apt update && sudo apt install samba samba-common-utils -yConfigured the Share (/etc/samba/smb.conf): Added a dedicated shared directory pointing to the mounted external drive:
[HomeNAS]
comment = Raspberry Pi 4TB NAS
path = /mnt/external4tb/nas
browseable = yes
writeable = yes
create mask = 0755
directory mask = 0755
valid users = pi
Set Samba Password & Restarted Service:
sudo smbpasswd -a pi
sudo systemctl restart smbd
Now, any device on my local Wi-Fi can seamlessly mount the 4TB drive to stream media, back up files, and drop large projects.
3. Bringing in CasaOS: A Sleek Dashboard & File Browser
While CLI and SMB are great, having a gorgeous web-based dashboard makes managing a home server effortless. I installed CasaOS, a lightweight open-source home cloud system.
- Installation:
wget -qO- https://get.casaos.io | bash- Why CasaOS? It provides a clean, Docker-native GUI dashboard, real-time CPU/RAM/Disk monitoring, and an integrated web file manager. Best of all, combined with my tunneling setup, I can access this dashboard securely from anywhere in the world.
4. Self-Hosted CI/CD Build Server & Containerized Apps
Instead of hosting everything on external cloud providers like Vercel or Render, I turned my Raspberry Pi into a self-hosted deployment target using Docker, Docker Compose, and GitHub Actions.
Get Kussagra Pathak’s stories in your inbox
Join Medium for free to get updates from this writer.
I currently host three services on the Pi:
- Portfolio Website: My personal frontend showcase.
- Visitor Logs & Contact Backend: A Node.js/Express service handling visitor analytics, admin dashboards, and contact form submissions with database storage.
- Mock JSON Server: A lightweight server hosting mock JSON payloads for placeholder text and images during development and testing.
Automated Deployments with GitHub Actions
Every time I push code to the main branch on GitHub, a workflow triggers on the Raspberry Pi (or pushes via a secure runner/webhook) to pull the latest changes, rebuild the Docker containers, and zero-downtime deploy them.
Here is a snippet of my deployment workflow structure:
name: Deploy to Home Server

on:
  push:
    branches: [ main ]
jobs:
  deploy:
    runs-on: self-hosted
    steps:
      - name: Checkout Code
        uses: actions/checkout@v4
      - name: Pull and Restart Docker Containers
        run: |
          docker compose down
          docker compose pull
          docker compose up -d --build
5. Global Access Without Port Forwarding: Cloudflare Tunnels & SSH
Exposing a home server directly to the internet via port forwarding on a home router is a security nightmare. To solve this safely, I used Cloudflare Tunnels (cloudflared) and my custom domain purchased from BigRock (with nameservers pointed to Cloudflare).
Setting Up Cloudflare Tunnels
- Installed
cloudflaredon the Raspberry Pi:
curl -L --output cloudflared https://github.s3.amazonaws.com/cloudflare/cloudflared-linux-arm64
chmod +x cloudflared
sudo mv cloudflared /usr/local/bin/- Authenticated and Created the Tunnel:
cloudflared tunnel login
cloudflared tunnel create homeserver- Configured DNS Routing & Config (
~/.cloudflared/config.yml): Mapped subdomains (e.g.,casa.myDomain.com,portfolio.myDomain.com,api.myDomain.com) directly to local Docker ports:
tunnel: <tunnel-UUID>
credentials-file: /home/pi/.cloudflared/<tunnel-UUID>.json

ingress:
   - hostname: casa.mydomain.com
     service: http://localhost:80
   - hostname: portfolio.mydomain.com
     service: http://localhost:3000
   - hostname: api.mydomain.com
     service: http://localhost:4000
   - service: http_status:404
Global SSH Access
Using Cloudflare Tunnels, I also configured TCP routing for SSH. This allows me to securely SSH into my Raspberry Pi from any coffee shop or network in the world without exposing port 22 to public scanners:
cloudflared tunnel route dns homeserver ssh.mydomain.comOn my client machine, I configured ~/.ssh/config to proxy connections through Cloudflare:
Host raspberrypi
    HostName ssh.mydomain.com
    ProxyCommand /usr/local/bin/cloudflared access ssh --hostname %h
    User pi
Now, typing ssh raspberrypi connects me instantly and securely across the globe.
Wrapping Up
By combining a Raspberry Pi, a 4TB hard drive, Docker, CasaOS, and Cloudflare Tunnels, I built a robust private cloud and deployment pipeline.
Key Benefits:
- Zero Monthly Subscription Fees: Total ownership of hardware and data.
- On-the-Go Deployments: Push to GitHub, and your home server builds and deploys instantly.
- Bank-Grade Security: No port forwarding required; Cloudflare handles SSL certificates, DDoS protection, and secure edge routing.
- Absolute Freedom: Access files, manage containers, and code from anywhere in the world.
If you have a spare Raspberry Pi lying around, give this project a try — it’s one of the most rewarding setups a developer can build!
Disclaimer: This entire project was built and documented with the assistance of AI tools, specifically Google Gemini and ChatGPT, blending and combining different solutions throughout the setup process. Please note that I can't share exact production code snippets or private credentials in this article.