I Built a macOS App That Animates Your Desktop as You Close the Lid, Inspired by iPhone Duo
Six Metal-rendered effects, driven by the real lid-angle sensor and your screen never leaves your GPU.

There is a moment, right when you start closing a MacBook lid, where the desktop just… sits there. Frozen. Oblivious. Then the screen goes black and that is it. I always thought that transition deserved something better something that acknowledged the physical movement of the lid and responded to it in real time.
That is what MacBook Duo is.
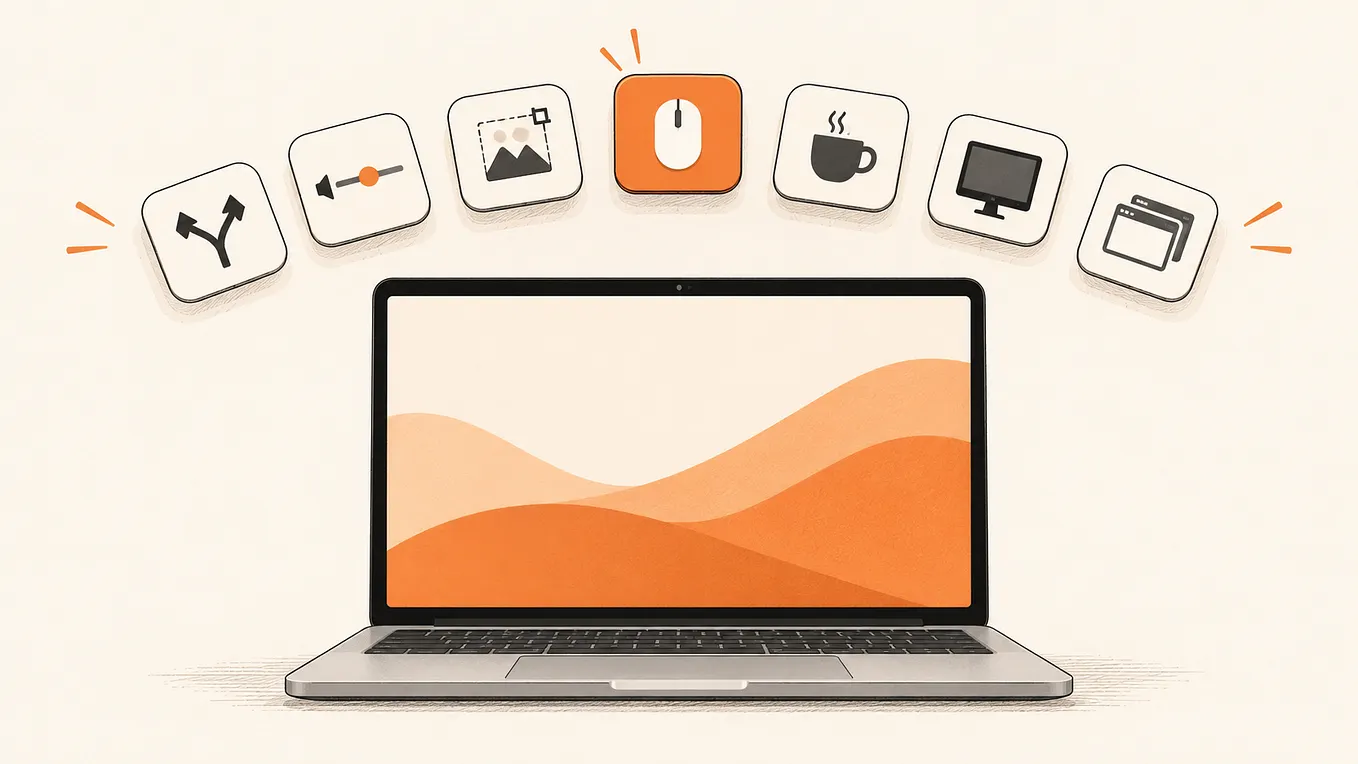
It is a native Swift menu bar app that captures your desktop the moment you start closing your lid, then renders it as a rigid pane that tilts around the hinge, expands toward you, blurs, dims, and disappears, tracking the exact angle your lid is at. Stop mid-close and the effect holds. Open it back up and everything reverses, sharpening back to your live desktop.
Landing page: macbookduo.satiyaganes.site
GitHub: github.com/satiyaganes06/Macbook-Duo
Why this exists
I spend a lot of time thinking about how software interacts with hardware. Most of my day job is mobile security runtime protection, threat detection, SDK integration. But outside of that I keep coming back to the same question: why do operating systems ignore so much of the physical context the device is already sensing?
Your MacBook knows exactly how far open the lid is. Apple silicon models poll that sensor at up to 120 Hz. The OS uses it to switch between displays and manage sleep. That is more or less where the story ends.
I wanted to see what it felt like to actually use that data for something visible. So I built MacBook Duo.

The pipeline, from sensor to screen
The whole thing runs roughly like this:
Lid sensor (IOKit HID feature report, polled 30–120 Hz)
    -> ReferenceAngleTracker   resting angle, re-baseline
    -> LidProgressModel        movement beyond dead zone -> progress (ease-out)
    -> CriticallyDampedFilter  smooth whole-degree reports, no overshoot
    -> EffectCurves            tilt / blur level / brightness
ScreenCaptureKit (own process excluded, overlay window sharingType = none)
    -> FrameStore              one IOSurface-backed frame, wrapped as a Metal texture
    -> FoldRenderer            blur pyramid (4 levels) + projective fold composite
    -> OverlayWindow           borderless, click-through, built-in display only
The hardest part was not the Metal rendering. It was the sensor layer.
Apple silicon lid sensors report in whole degrees. That means you get jumps, the angle sits at 45° for a while, then snaps to 44°. If you drive an animation directly off that, it looks terrible. I added a CriticallyDampedFilter that smooths those transitions without introducing lag or overshoot. The spring constants are tuned so the overlay tracks the lid close enough to feel live, but never bounces.
ReferenceAngleTracker handles calibration. When you first launch the app, it does not know what "fully open" looks like on your specific machine. It watches for the lid to sit still at a consistent angle for about 20 seconds, then uses that as the baseline. Every angle below the baseline becomes progress from 0 to 1. You can also manually re-baseline from the menu bar.
LidProgressModel sits between the sensor and the effects. It adds a dead zone so tiny vibrations do not arm the overlay, eases the progress curve so the effect accelerates naturally as the lid closes, and is the single source of truth for every renderer.
Six effects, one capture
The app captures your desktop exactly once per lid-close, on the first degree of movement. That frame lives in GPU memory as a Metal texture and never hits disk. Every style pulls from the same texture.
Duo (the default): the desktop tilts around the hinge as a rigid plane, expands slightly toward you via perspective projection, picks up a 4-level blur pyramid as it rotates, dims from 35% to 90% opacity, and ends black. This one took the most iteration. Getting the perspective transform to feel like the lid physically rotating, not a flat image skewing required careful matching between the fold geometry in FoldGeometry.swift and the vertex shader in Shaders.metal. They are documented to be identical on purpose.
Shutter: six rigid panels slide down behind each other, with overlapping edges and contact shadows, until the stack settles on the hinge. The shadow work here is purely geometric no lighting model, just offset quads with alpha.
Iris: eight dark blades close around the desktop with a 35° twist, bevelled edges, and visible seams between them. The bevel is rendered as a thin inner stroke per blade, which keeps the edges readable even when the blades overlap.
Roll: a roller rises from the hinge and the desktop winds onto it like a retracting projector screen, shaded as a cylinder. The cylindrical shading uses a cosine falloff on the texture coordinates as they wrap around the roller radius.
Accordion: the desktop folds into horizontal pleats collapsing toward the hinge, with faces alternating light and dark and crease shadows along each fold. This one is the most geometry-heavy; each pleat is a separate quad pair with a shared crease edge.
Fade: a plain black veil, no capture needed. This is what runs automatically if you have “Reduce Motion” enabled in Accessibility settings.
Get Satiya Ganes’s stories in your inbox
Join Medium for free to get updates from this writer.
Every style ends black, so the display sleeps on a blank frame rather than a mid-animation snapshot.
The state machine
EffectEngine manages four states: idle → arming → ready → active.
- idle: nothing happening, sensor being polled.
- arming: first degree of lid movement detected. ScreenCaptureKit starts capturing. The overlay is hidden.
- ready: capture is running and a fresh frame is in
FrameStore. Still hidden, waiting for progress to cross the arm threshold. - active: overlay is rendering. The effect tracks lid progress in real time.
Any failure drops straight back to idle and removes the overlay. Sensor timeout, capture permission revoked mid-session, display configuration change, all of these tear the overlay down and restore the desktop immediately. I added a system-wide Emergency Stop shortcut (⌃⌥⌘F) that does the same thing manually, in case the overlay ever gets stuck. It has not happened in normal use, but it felt important to have an escape hatch.
Privacy
Desktop frames stay on the GPU. Nothing touches disk, nothing goes over the network, nothing is analyzed. The Screen Recording permission is required by macOS for ScreenCaptureKit — there is no way around that — but the app excludes its own process from capture and marks the overlay window with sharingType = none so it does not appear in other screen recordings.
What does not work yet
Macs without the continuous lid-angle sensor, anything that only exposes an open/closed switch, run in manual mode. The preview works, the effects work, but automatic lid-following is disabled because there is no angle data to follow. Most Intel MacBooks fall into this category. Apple silicon MacBooks have the sensor.
The signing situation for local builds is a bit annoying. macOS ties the Screen Recording grant to the app’s code signature, and ad-hoc signing changes the hash on every build, so the grant disappears silently. I wrote a script (scripts/make-signing-identity.sh) that creates a stable local certificate, which fixes this. The README walks through it.
How to run it
Build from source:
bash
git clone https://github.com/satiyaganes06/Macbook-Duo.git
cd Macbook-Duo
scripts/build-app.sh
open "build/MacBook Duo.app"
Or grab the .dmg directly from the landing page: macbookduo.satiyaganes.site
If you want to package a drag-to-install disk image:
bas
scripts/build-dmg.shThe app sits in the menu bar. The menu shows the live lid angle, the resting angle it calibrated against, and the current state. Pick your effect, hit “Preview Effect” to see the full arc without closing your lid, and turn it off any time with the “Enabled” toggle.
The parts I found interesting to build
The blur pyramid was more involved than I expected. A single-pass Gaussian blur at high pixel counts is slow. The FoldRenderer uses a 4-level pyramid instead: downsample the texture three times, blur each level, then composite them. The blur gets progressively heavier at lower resolutions and progressively lighter as the lid opens back up. At rest — lid fully open — the overlay is completely hidden, so there is no cost at all.
The reference tracking calibration was also worth thinking through carefully. The naive version is: record the angle when the app launches and call that the resting position. That breaks the moment you prop your laptop at a different angle. The ReferenceAngleTracker watches for the lid to hold a stable angle for 20 seconds and re-baselines automatically. It does this silently, without interrupting the effect. You can also force it from the menu if you want to calibrate immediately after repositioning.
Open source
The fold geometry is documented in Sources/DuoCore/Model/FoldGeometry.swift and mirrored one-to-one in foldVertex in Shaders.metal, so if you want to add a new effect style, the two files are the things to change. The state machine, sensor layer, and capture pipeline are all separate from the renderer by design, so a new style is just a new renderer that receives the same progress value everything else gets.
If you build something with it or fork it in a direction I have not thought of, I would be curious to hear about it.
macbookduo.satiyaganes.site · github.com/satiyaganes06/Macbook-Duo