Who Goes There? Implementing Role-Based Access Control (RBAC)

Part 6: Moving beyond simple login. Learn to manage permissions like an Architect.

👋 Introduction: From Authentication to Authorization
In Part 5, we successfully secured our API using JWT Authentication. Every user now needs a “Keycard” (Token) to enter. However, currently, our system treats every authenticated user the same. A new user has the same power as a Super Admin.
Today, we implement Role-Based Access Control (RBAC). We will define specific roles, link them to users through a Many-to-Many relationship, and use Spring Security annotations to restrict sensitive operations — like viewing the full list of registered users — to only those with ADMIN clearance.
What we are building today:
- The Many-to-Many Schema: Creating the link between Users and Roles in the database.
- Automatic Role Assignment: Ensuring every new user gets a default
ROLE_USER. - The Bootstrapping Logic: Using a
DataLoaderto auto-create a "Super Admin" account. - Method-Level Security: Using the power of
@PreAuthorizeto lock down endpoints.
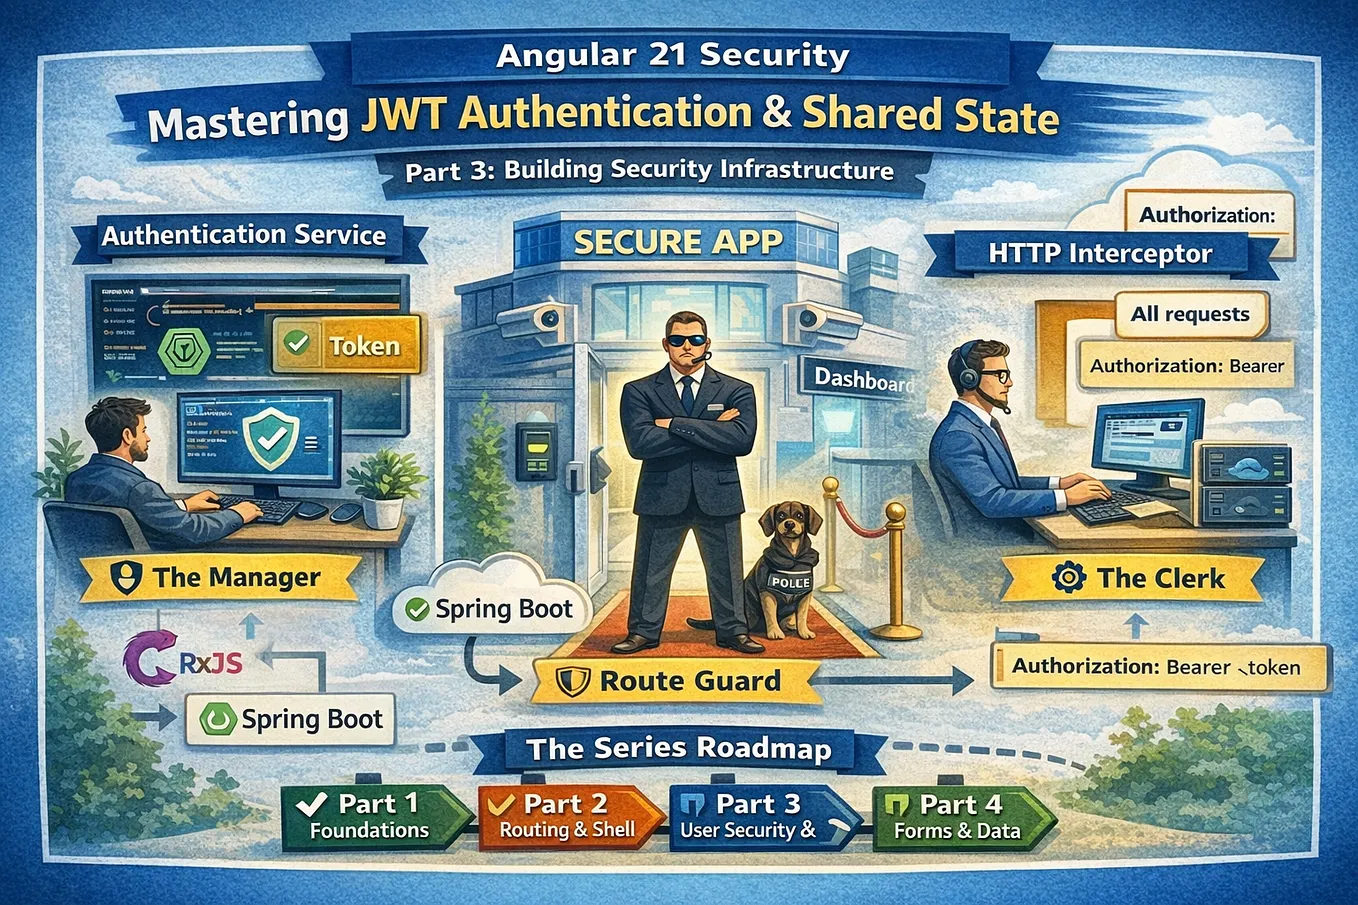
🧭 The Series Roadmap
- ✅ Part 4: Database Persistence & Docker
- ✅ Part 5: User Authentication (JWT)
- 👉 Part 6: Authorization and Roles (RBAC) — You are here
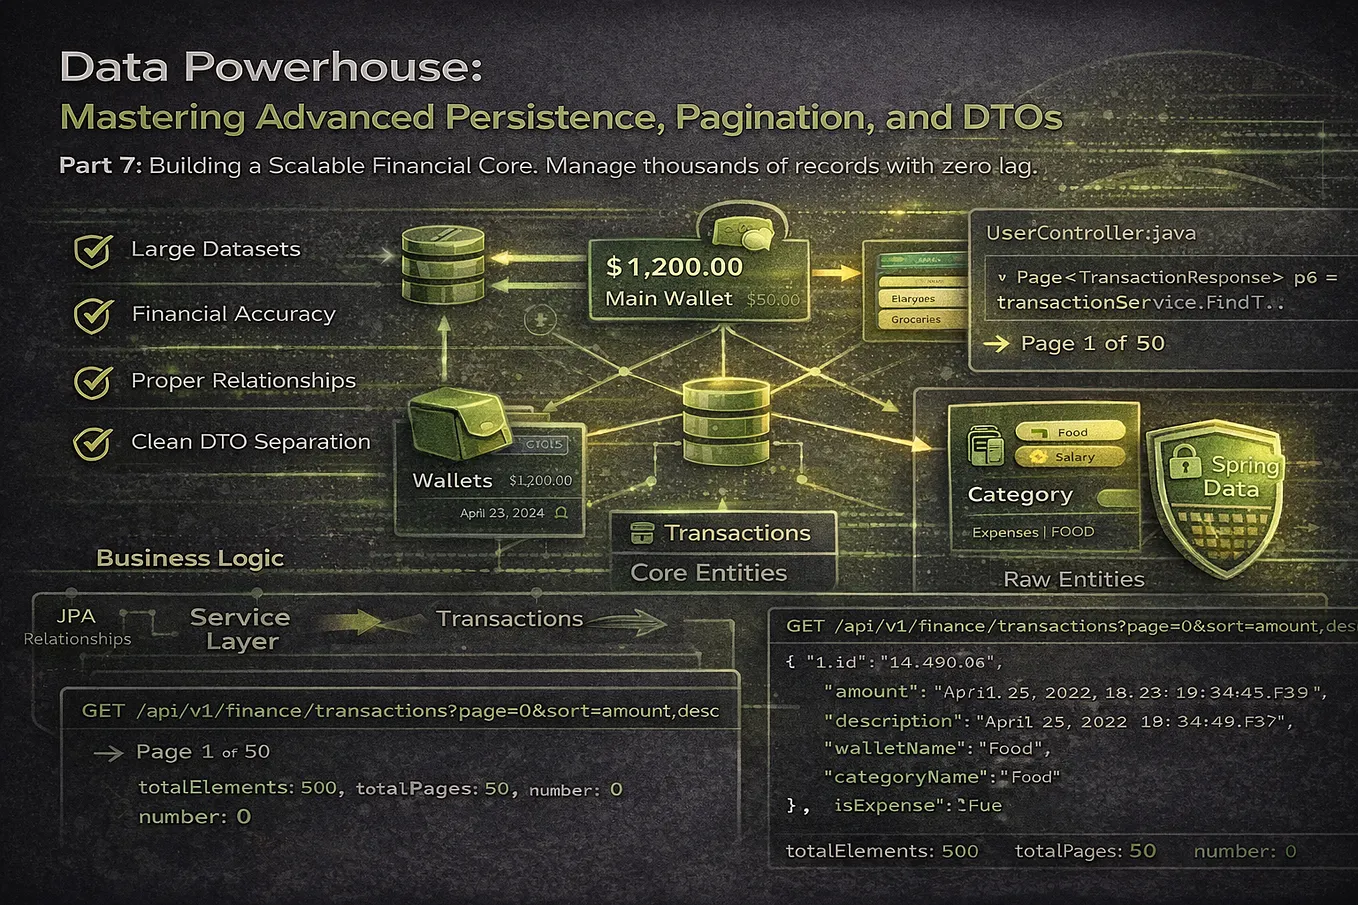
- ⏭️ Part 7: Building the Financial System (Entities, Pagination & DTOs)
🛠 Section 1: Database Schema & Entity Updates
To support RBAC, we need a Many-to-Many relationship. A user can have many roles, and a role can belong to many users.
1. The Role Entity (Role.java)
We define a dedicated entity to store available roles.
package com.example.deployableapi.model.entity;

import jakarta.persistence.*;
import lombok.Getter;
import lombok.Setter;

@Getter
@Setter
@Entity
@Table(name = "roles")
public class Role {

    @Id
    @GeneratedValue(strategy = GenerationType.IDENTITY)
    private Long id;

    @Column(length = 60, unique = true, nullable = false)
    private String name; // e.g., "ROLE_USER", "ROLE_ADMIN"
}
2. Updating the User Entity (User.java)
The @JoinTable annotation creates the user_roles bridge table automatically in the database.
// Inside User.java entity
@ManyToMany(fetch = FetchType.EAGER, cascade = CascadeType.ALL)
@JoinTable(
    name = "user_roles",
    joinColumns = @JoinColumn(name = "user_id"),
    inverseJoinColumns = @JoinColumn(name = "role_id")
)
private Set<Role> roles = new HashSet<>();
🔑 Section 2: Bootstrapping the System
We use a DataLoader to ensure roles exist in the database and create our first Admin account automatically at startup.
Get Sidharth S’s stories in your inbox
Join Medium for free to get updates from this writer.
The Data Loader (DataLoader.java)
@Component
public class DataLoader implements CommandLineRunner {

    private final RoleRepository roleRepository;
    private final UserRepository userRepository;
    private final PasswordEncoder passwordEncoder;

    public DataLoader(RoleRepository roleRepository, UserRepository userRepository, PasswordEncoder passwordEncoder) {
        this.roleRepository = roleRepository;
        this.userRepository = userRepository;
        this.passwordEncoder = passwordEncoder;
    }

    @Transactional
    @Override
    public void run(String... args) {
        // 1. Initialize Roles
        createRoleIfNotFound("ROLE_USER");
        createRoleIfNotFound("ROLE_ADMIN");

        // 2. Create Super Admin if not exists
        if (userRepository.findByUsername("superadmin").isEmpty()) {
            Role adminRole = roleRepository.findByName("ROLE_ADMIN")
                    .orElseThrow(() -> new IllegalStateException("Admin role not found"));

            User admin = new User();
            admin.setUsername("superadmin");
            admin.setEmail("admin@example.com");
            admin.setPassword(passwordEncoder.encode("change-me-456"));
            admin.setFirstName("Super");
            admin.setLastName("Admin");

            admin.setRoles(Collections.singleton(adminRole));
            userRepository.save(admin);
        }
    }

    private void createRoleIfNotFound(String roleName) {
        if (roleRepository.findByName(roleName).isEmpty()) {
            Role role = new Role();
            role.setName(roleName);
            roleRepository.save(role);
        }
    }
}
⚙️ Section 3: Updating Security Logic
We must tell Spring Security to load these database roles as “Granted Authorities.”
1. Mapping Authorities (CustomUserDetailsService.java)
// Inside CustomUserDetailsService.java
var authorities = user.getRoles().stream()
    .map(role -> new SimpleGrantedAuthority(role.getName()))
    .collect(Collectors.toList());

return new org.springframework.security.core.userdetails.User(
    user.getEmail(), user.getPassword(), authorities);
2. Handling 403 Errors (JwtAccessDeniedHandler.java)
@Component
public class JwtAccessDeniedHandler implements AccessDeniedHandler {
    @Override
    public void handle(HttpServletRequest request, HttpServletResponse response,
                       AccessDeniedException accessDeniedException) throws IOException {
        // Returns 403 Forbidden when an authenticated user lacks the required role
        response.sendError(HttpServletResponse.SC_FORBIDDEN, accessDeniedException.getMessage());
    }
}
🛑 Section 4: The Command Center (SecurityConfig.java)
We enable method-level security and apply the Critical Context Fix to ensure the security context is trusted for the duration of the request.
@Configuration
@EnableWebSecurity
@EnableMethodSecurity(prePostEnabled = true) // NEW: Enables @PreAuthorize
public class SecurityConfig {

    @Bean
    public SecurityFilterChain securityFilterChain(HttpSecurity http) throws Exception {
        http
            .csrf(csrf -> csrf.disable())
            .exceptionHandling(ex -> ex
                .authenticationEntryPoint(jwtAuthenticationEntryPoint) // 401
                .accessDeniedHandler(jwtAccessDeniedHandler))         // 403
            // CRITICAL FIX: Prevents 401 fallback during authorization checks
            .securityContext(sc -> sc.requireExplicitSave(false))
            .sessionManagement(s -> s.sessionCreationPolicy(SessionCreationPolicy.STATELESS))
            .authorizeHttpRequests(auth -> auth
                .requestMatchers("/api/v1/auth/register", "/api/v1/auth/login", "/swagger-ui/**").permitAll()
                .anyRequest().authenticated()
            );

        http.addFilterBefore(jwtAuthenticationFilter, UsernamePasswordAuthenticationFilter.class);
        return http.build();
    }
}
🛡️ Section 5: Securing Endpoints with @PreAuthorize
Now for the magic. We lock the sensitive “List All Users” endpoint so only Admins can see it.
UserController.java
@GetMapping("/users")
@PreAuthorize("hasRole('ADMIN')") // This requires the user to have ROLE_ADMIN
public ResponseEntity<List<UserResponse>> findAllUsers() {
    return ResponseEntity.ok(userService.findAllUsers());
}
✅ Verification and Testing
To verify your RBAC setup, test the GET /api/v1/auth/users endpoint:
- Test Case 1 (Admin Success): Login as
superadmin. Result should be 200 OK. - Test Case 2 (User Forbidden): Register a new user and login. Result should be 403 Forbidden.
- Test Case 3 (No Token): Access without a JWT. Result should be 401 Unauthorized.
⏭️ Conclusion & What’s Next
Your API is now not just secure, but intelligent. It understands hierarchies and protects data based on user clearance.
💬 Join the Conversation
Do you prefer hard-coding roles like ROLE_ADMIN, or do you use a more dynamic, database-driven permission system? Let me know in the comments!
📂 Resources & Links
- Source Code: Find the complete implementation for this part on the GitHub Repository — Branch: rbac-authorization
- Stuck? Drop a comment below!
Ready to build a real-world system? Part 7: Building the Financial System — Entities, Pagination & DTOs →