Storage to Website: Amazon S3
A beginner’s guide to creating an Amazon S3 Bucket to Host a Static Website
Introduction
Hi, techies in the building! 👋🏽 I’m back with another banger for us to explore together! This time, we’re diving into a step-by-step guide on how to create an Amazon S3 bucket and use AWS to store and host a static website.
What Is Amazon S3? Amazon Simple Storage Service (Amazon S3) is an object storage service offered by Amazon Web Services (AWS). It allows users to store and retrieve different types of data, including images, documents, videos, backups, logs and website files.
It stores data in containers called buckets and the data stored in our buckets are called objects such as HTML, CSS, JavaScript, and image files.
Assumming you want to store some water for a future use, we make use of a bucket (this principle applies to Amazon S3)
N.B.: Choosing a storage service depends on your application’s needs. For example, Amazon RDS manages structured data in relational databases, while S3 stores files and other objects.
For this project, we will be working with one interesting feature of Amazon S3 which is static website hosting, which allows you to host a website without provisioning or managing a traditional web server.
By the end of working through this technical piece, you’ll understand how to use Amazon S3 to store and host a simple static website.

What Is a Static Website? A static website consists of files delivered to visitors as they are stored, without requiring server-side code to generate pages dynamically.
These files commonly include the main webpage that serves as the website’s entry point (index.html), controls the website’s styling and visual appearance (style.css), adds interactivity and client-side functionality (script.js), and enhance the website’s appearance and content using images and other assets.
N.B.: Unlike a dynamic website, a static website does not require a server-side application to generate pages for every request. However, it can still use external APIs and backend services when needed.
So, grab your juice🧃 and chin-chin 🍪, relax, and enjoy this technical ride with me.

Step 1: Create and Sign-in to Your AWS Account
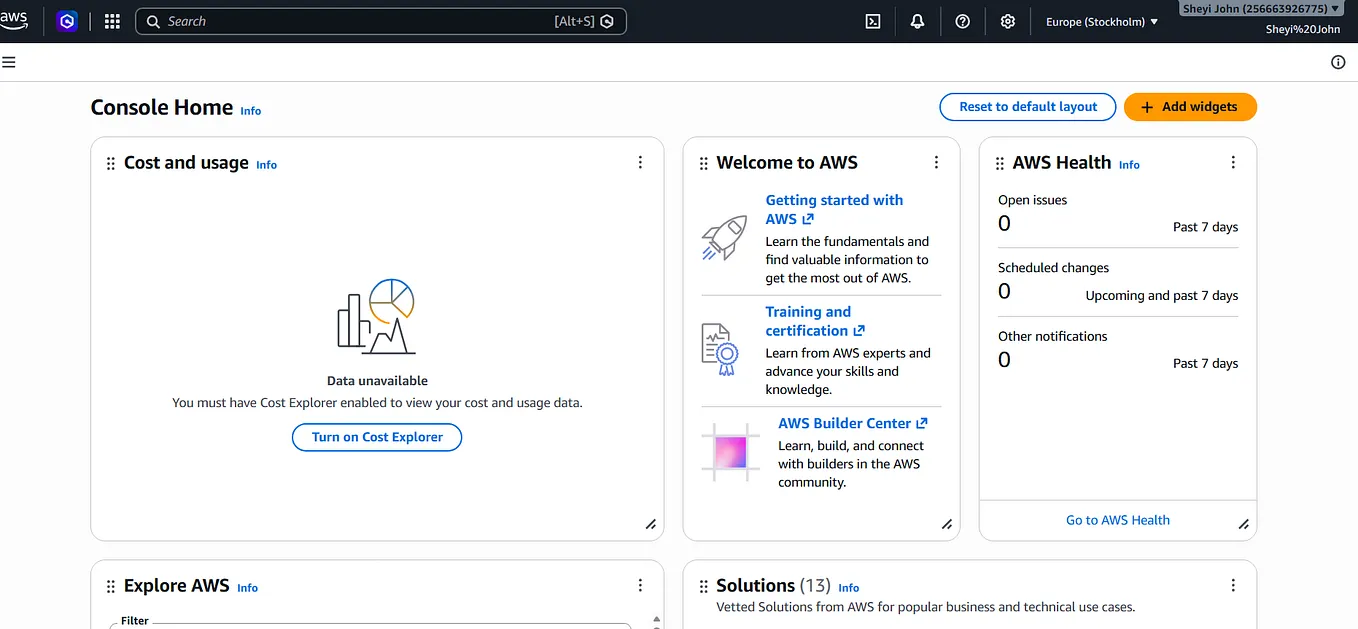
Initially, we start by creating an AWS account by visiting the AWS Management Console. After signing up, sign in to your account. Once you have successfully signed in, you will be redirected to the AWS Management Console, where you can access and manage AWS services.
N.B.: Enable Multi-Factor Authentication (MFA) to add an extra layer of security to your AWS account.

Step 2: Create Your S3 Bucket
Once you are on the AWS Management Console home page, use the search bar to search for Amazon S3 and select it from the search results. You will be redirected to the Amazon S3 dashboard, where you can manage your buckets and stored objects.
Click on the Create bucket button to begin the bucket creation process. In the next step, you will configure your bucket settings.

Then, let’s start configuring our bucket to store our objects.
Under the General Configuration section, I selected the General Purpose Bucket because it is recommended for most use cases. I also used the Global Namespace, which requires my bucket name to be globally unique across AWS. For my Bucket Name, I used aws_portfolio_website_bucket (You can choose any suitable name for your own project).

In the Object Ownership section, I disabled Access Control Lists (ACLs) so that I could manage access to my bucket and its objects using policies. This approach also helps simplify access management by keeping permissions in one place.
N.B.: ACLs are another way of managing access permissions in AWS. By disabling them, we can manage access through policies instead, such as bucket policies.
As we continue this journey, we will learn how to create these policies ourselves.

In the Block Public Access Settings for this bucket section, since we are hosting a website that needs to be publicly accessible, we need to allow public access by disabling the relevant Block Public Access settings.
Not every S3 bucket should be publicly accessible. For example, a bucket used by EC2 instances to store or retrieve sensitive data should generally remain private, with access controlled through appropriate IAM policies or bucket policies.
N.B: Always consider the type of data being stored and the security requirements of your application before changing these settings.

In the Bucket Versioning section, I disabled versioning because I don’t need to keep multiple versions of the objects stored in my S3 bucket for this project.
Bucket Versioning helps preserve different versions of an object. If an object is accidentally deleted, overwritten, or corrupted by an application, versioning can help you retrieve or restore a previous version.
N.B.: It is a useful feature for protecting important data, especially in production environments.
In the Tags Section, since we are just working with only one bucket, it is best left like that and also in the encryption section, just used the default encryption.

Then, CLICK THE CREATE THE BUCKET OPTION.
Step 3: Upload Our Static Website Files
After successfully creating your S3 bucket, open the bucket and navigate to the Objects tab. Click the Upload button to begin uploading your static website files, such as index.html, style.css, script.js, and any images or other assets your website requires.
Once you have selected your files, click Upload to store them in your S3 bucket.

For this project, I used a folder containing my index.html, CSS, and JavaScript files. You can either upload individual files or upload an entire folder, as both options are available in Amazon S3.

Step 4: Enable Static Website Hosting
Once you’ve successfully uploaded your static website files, navigate to your S3 bucket and click on the Properties tab.
Scroll down to the Static website hosting section. From there, we can configure the necessary settings to enable our website to be hosted and accessed through a web browser.

Next, scroll down the Properties page until you find the Static website hosting section, then click Edit to configure the website hosting settings.

Now, let’s configure our static website hosting
First, enable the Static website hosting option. Next, under the Index document field, enter the name of your HTML homepage. Mine is index.html, so make sure you use the actual name of your own HTML file.
S3 uses the specified index document as the website’s homepage. Since we uploaded a folder containing our website files, S3 can also access our CSS, JavaScript, and other assets when needed, provided their paths are correctly configured.
Get Sheyi John’s stories in your inbox
Join Medium for free to get updates from this writer.
Once everything is set, click Save changes.
We muveeeeeeeeeeeeeeee! 🔥🚀
You will notice that the website to be hosted has been generated by S3 when we scroll down to the button the page.

However, when we click on the website endpoint, we may encounter a 403 Forbidden error. This means that access to our website is still being denied, even though we disabled the Block Public Access settings in the previous step.

Don’t panic, techies! 😅 This is because allowing public access at the bucket level does not automatically grant visitors permission to read our website files. We still need to configure the appropriate bucket policy to make our website objects publicly readable.
Step 5: Add Permissions to Our Objects
Now, let's grant visitors permission to access our website files.
Navigate to the Permissions tab in your S3 bucket, then scroll down to the Bucket policy section and click Edit.
Here, we will add a bucket policy that allows visitors to read our website files, making them accessible through the static website endpoint. 🔐🌐

N.B.: A Bucket Policy defines who can access your S3 bucket and the objects stored in it. AWS bucket policies are written in JSON format. AWS permissions are managed through different mechanisms, including IAM (Identity and Access Management)
For our bucket policy, we want visitors to be able to retrieve and view our website files. To achieve this, we can either ask an AI tool to help generate the policy or write the JSON statement ourselves to understand how the permissions work.
Let’s configure our policy! 🔐🚀
N.B.: AI can help us generate the appropriate bucket policy, but as cloud engineers, it is important to understand and review the policies AI provides. This helps us ensure that we use the correct permissions for our specific needs. That is why we are taking this step to create a new statement and understand how our policy works.
Let’s configure our policy! 🔐🚀
The moment we click the Add new statement button, we will see a basic policy statement template. By default, it doesn’t grant any permissions until we configure the necessary fields. Let’s break down what each field means.

- Version: “2012–10–17” This specifies the version of the IAM policy language AWS uses.
- Statement: This contains the rules that define the permissions we want to grant or deny.
- Sid (Statement ID) : This is an optional name used to identify a policy statement and describe its purpose. I used GrantPublicAccess as my Sid.
- Principal (Permission recipient): This specifies who can access the resource. I used * to represent everyone, making the statement applicable to the public. In a company environment, access can be restricted to specific AWS accounts, users, or roles, depending on the resource and policy.
- Effect : This specifies whether the policy allows or denies an action. I selected Allow because I want visitors to access my website files. The alternative is Deny, which explicitly denies the specified action.
- Action: This specifies what the principal is allowed or denied to do. Since our goal is to let visitors retrieve website files, we need the s3:GetObject action.
To configure this, we can search for S3 in the action selector and choose GetObject.

Finally for our Resource , it specifies the AWS resource that the policy applies to. In our case, we want to grant access to the objects stored in our specific S3 bucket. If we have multiple buckets, the Resource field helps us identify which bucket and objects the policy covers.
To add a resource, look at the right-hand pane and click Add a Resource. You can then select the AWS service, Resource type, and Resource ARN to specify the resource you want the policy to apply to.
For our website, we need to specify the ARN of our S3 bucket’s objects so that visitors can retrieve the website files.

To get your Resource ARN, return to your S3 bucket page and copy the ARN as shown below. We can then paste it into the Resource field of our bucket policy.

Now that we have completed our JSON bucket policy, we can click the Save changes button to apply the policy to our S3 bucket.

Once we have saved our policy, navigate to the Properties tab of your S3 bucket. Scroll down to the Static website hosting section, where you will find the Bucket website endpoint.
Click the endpoint link to open your website in a browser and confirm that it is publicly accessible.

But wait! 😅 We are faced with a 404 Not Found or 403 Forbidden error.
Take a deep chill, techies! 😂🧘♂️ Don’t panic; we were made for this 🚀

The problem is with the website URL. Since we uploaded our website files inside a subfolder rather than directly into the root of our S3 bucket, we need to include the subfolder name in the URL to access the website correctly.
Initially, I copied and pasted the Bucket website endpoint from the Properties tab:
http://resume-s333-bucket.s3-website.eu-north-1.amazonaws.com
However, this URL points to the root of our bucket, where the index.html file is not located. Let's fix this by adding our subfolder name to the URL.

So, we now have our complete URL:
http://resume-s333-bucket.s3-website.eu-north-1.amazonaws.com/aws-portfolio-website/

Finalllllllyyyyyyyyy, guys! 🥳🎉🚀
Our static website is now LIVE! 🌐
We successfully uploaded our website files to Amazon S3, troubleshot the 403 Forbidden and 404 Not Found errors, and finally got our website up and running!
One more practical project completed, one more lesson learned, and one step forward in our cloud engineering journey! ☁️🔥
Please, guys, no forget to DISENGAGE ALL SERVICES ooooo! 😂😭💸
Because if you forget and AWS starts billing you, your account go hear am.
We moveeeee, techies! 😎💪