


Advanced Installer Graphical User Interface
The Advanced Installer main window is organized into four sections: Ribbon (or Main Menu plus toolbar), left pane, page display and info pane. Each page may in turn be organized in multiple tabs and/or dialog boxes. Most dialog boxes can be resized by dragging their bottom-right corner.
Ribbon
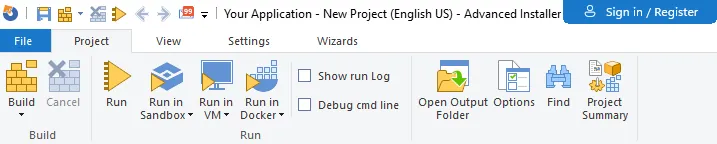

Sign in / Register
Here you can sign in to your Advanced Installer Account, create a new one or register Advanced Installer.
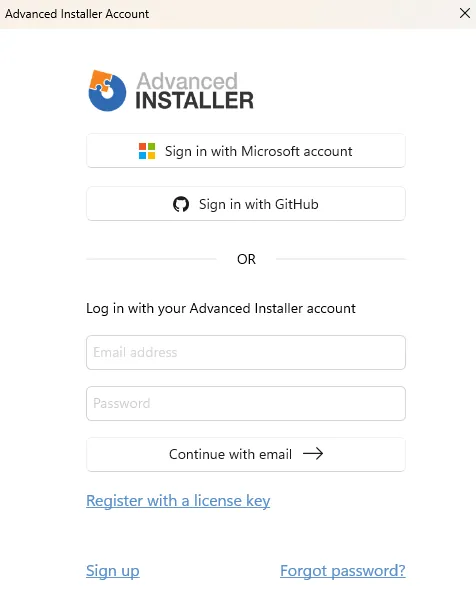

SSO Authentication
For fast and secure access without entering a password, you can use one of the supported Single Sign-On (SSO) Authentication providers:
- Sign in with Microsoft account - Authenticate using your personal or organization Microsoft credentials.
- Sign in with GitHub - Authenticate using your GitHub profile credentials.
Advanced Installer Account Authentication
If you created an account directly with Advanced Installer, specify:
- Email address - type the email address registered with your account into the field
- Password - type your account password
And then click the Continue with email button to complete the process.
Register
Click the Register with a license key if you have purchased a standalone license key (e.g., Professional, Enterprise, or Architect) and need to activate the application directly without an online account session.
Sign up
This link starts the account creation process if you do not have an active Advanced Installer account.
Forgot password
Click on this link to open the password reset page to help you recover access to your account
Toolbar
The toolbar allows quick access to most commands provided by the menu system. From here you can create projects, existing ones or , and the project you are working on. Some of the creation process' pages append their own toolbars to easily add files to the install, create shortcuts, etc. For a detailed explanation of each item on the main toolbar see Working with Projects.

Left Pane
The left pane contains grouped lists of conceptually related pages: Product Information, Resources, Package Definition, Requirements, User Interface, System Changes, Server, Custom Behavior. From general to detailed, clicking on these items will display, to the right, the various configuration options for your installer. The currently selected item is displayed in bold.
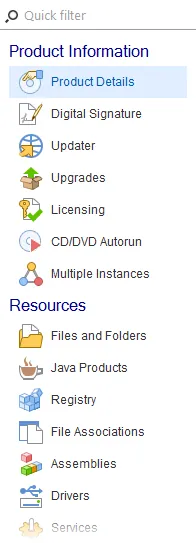

You can toggle the left pane on and off from the “View > Show > Left Pane” menu. The size of the icons and elements can also be changed by selecting the “Compact Left Pane” option from the “View > Show” toolbar menu.
 Use the “Quick filter” above the left pane page menu to quickly reach
pages of interest. The filter not only supports searching in the actual menu entries, but
also looks in a predefined set of keywords relevant to each page when trying to match your
query. For example typing "variable" in the filter will bring up the Environment Variables Page page, where you can configure environment
variables.
Page Display
The center stage for creating your installer is this large area on the right. It is the main work area - all project data is displayed here.
Info Panes
This panel will display one of the selected panes from the “View > Info Panes” menu and it is hidden by default. You can close it again by clicking on its top-right corner button.
Topics
- Ribbon
A description of Advanced Installer's ribbon and of actions attached to each tab. - Project Summary
Shows the selected build's content - Main Menu
A description of Advanced Installer's main menu and of actions attached to each item. - Issues Pane
Displays issues and offers to fix some of them. - References Pane
Finding where a file, folder or property is used. - Notes Pane
Displays various notes added that are specific for the selected view